Do you feel intimidated when beginning to design a spirit shirt for your team and it’s fans? There is no reason to feel intimidated. The process can be a very fun and successful experience. To begin, look at who your fans are and the type of team they are supporting. Once you answer that question the real work begins. The first thing you must do is chose the color and style of the shirt. There are an abundance of styles and colors for you to chose from. From polo shirts to sweatshirts to t-shirts there are many options and the chose all depends on your fans. You will want to keep in mind the type of sport and whether it is played indoors or outdoors. If you are designing a shirt for a winter outdoor soccer league you might choose a fleece sweatshirt. For a basketball team a basic t-shirt or polo shirt will be a good choice. Whatever direction you go in always keep in mind what your fans are most likely to wear.
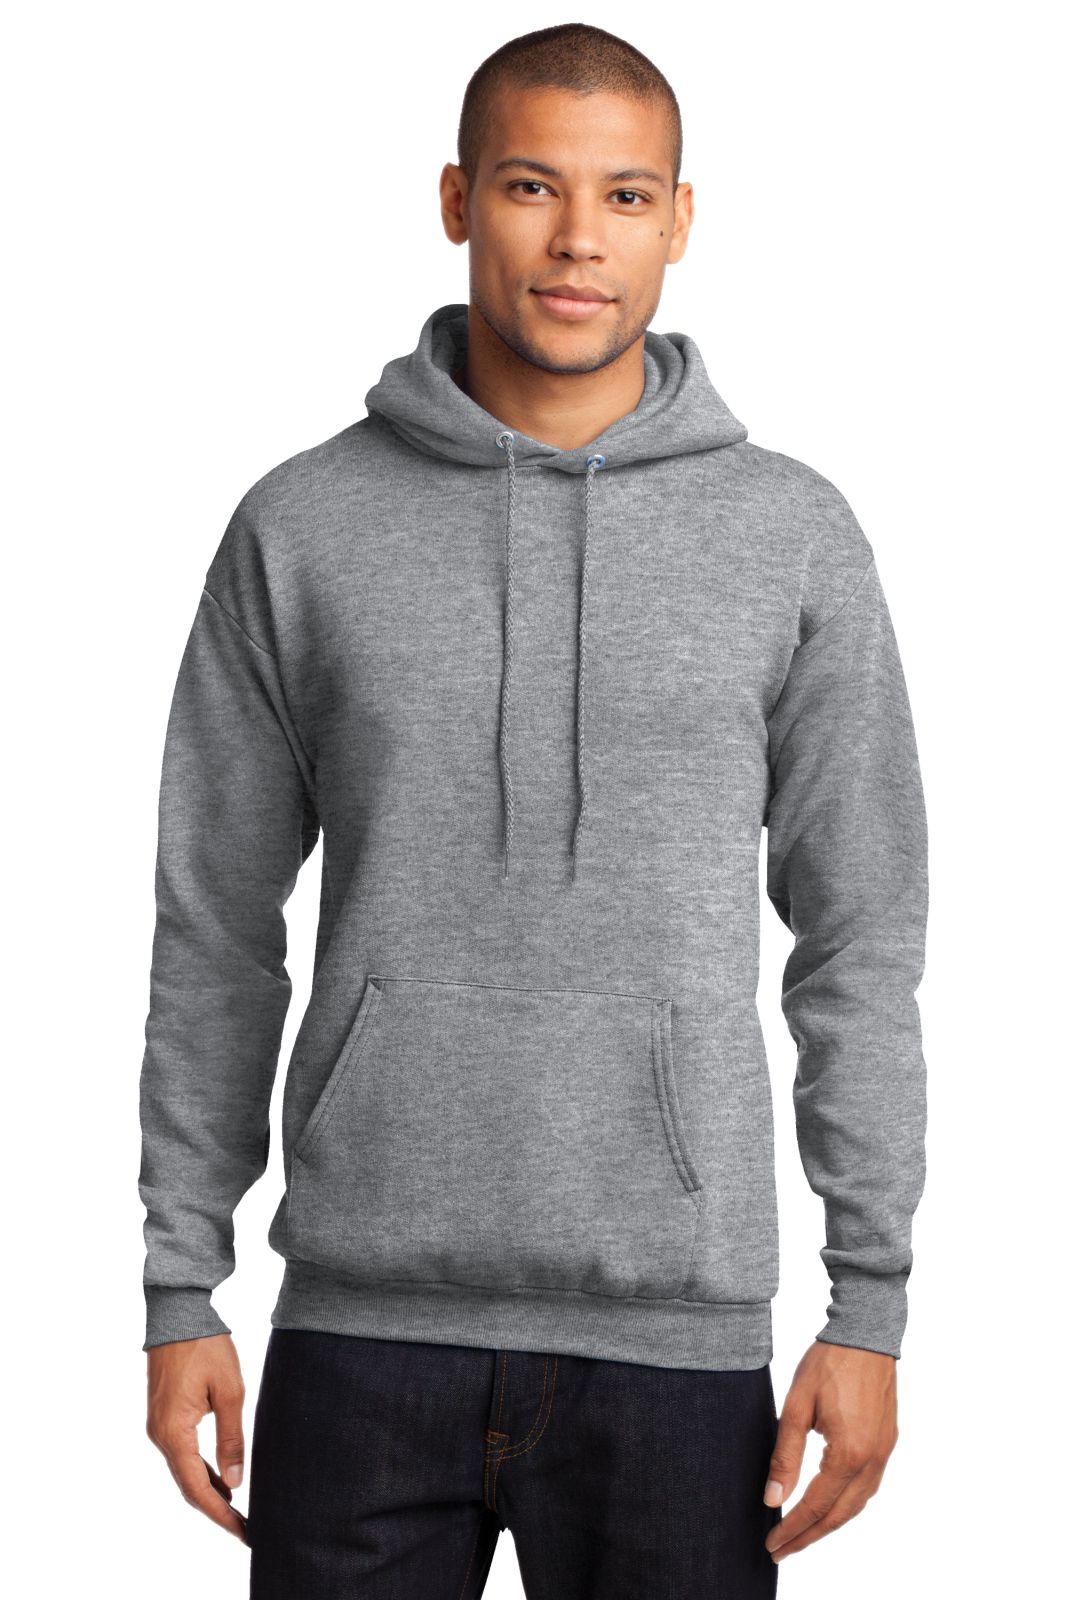
Hooded Sweatshirt
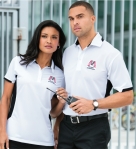
Polo shirt
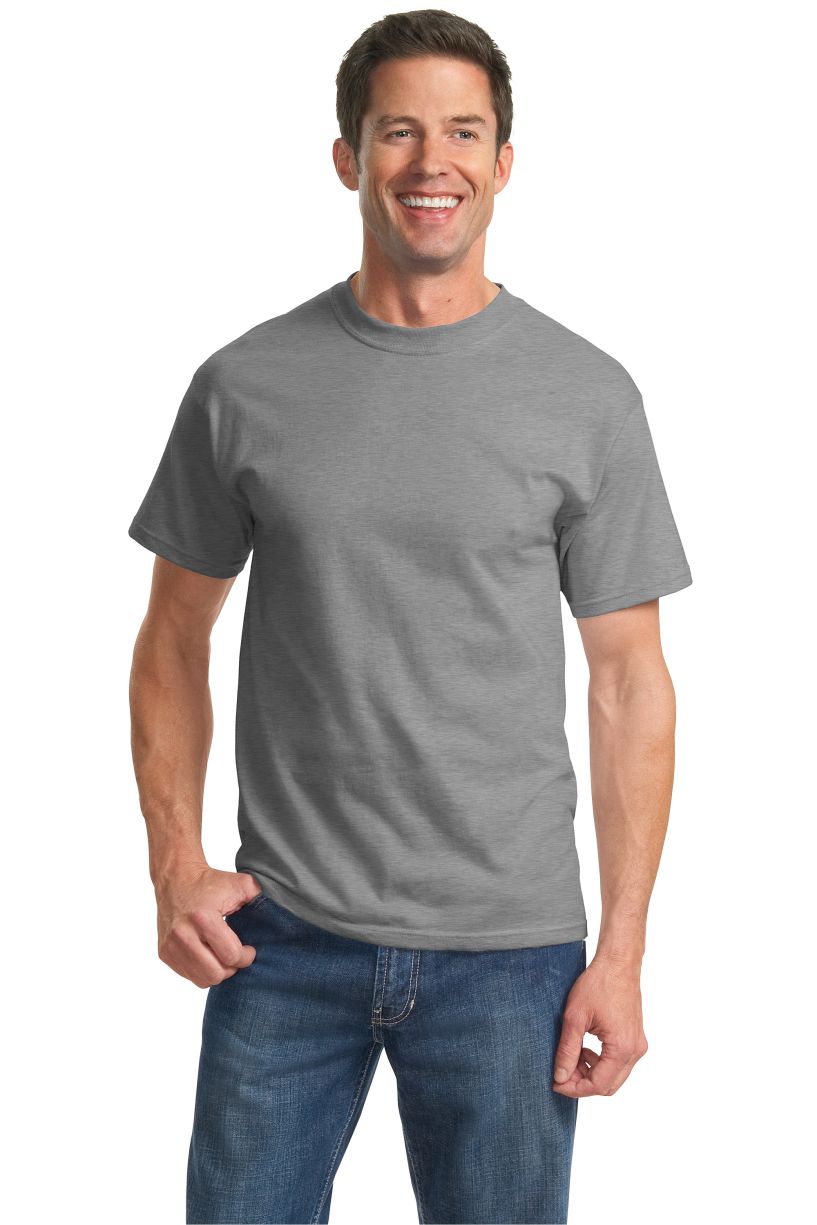
Basis T-shirt
1) Chose the color and style of your shirt.
This choice hinges on the type of team and fans you are designing for. For instance if you are designing for a golf team a polo shirt is the right choice it is more structured and it is what the golfers wear while playing. If you are designing for a little league baseball team you might chose a baseball jersey style of shirt. When you are making this choice the sport and the location where your team plays are important considerations.
The color choice is the easiest part of this task it will be determined by the team colors of the team you are designing for. If your team colors are dark such as maroon, purple or black then a white shirt would be a good choice. for a color combination of black and gold you can put a black and gold design on a white shirt or a black design on a gold shirt. For lighter colors such as light blues you might want to go with a darker color that will compliment and give contrast to the lighter colors. Using the color wheel will assist you in this choice. https://www.pinterest.com/pin/483714816220193497/

Front centered
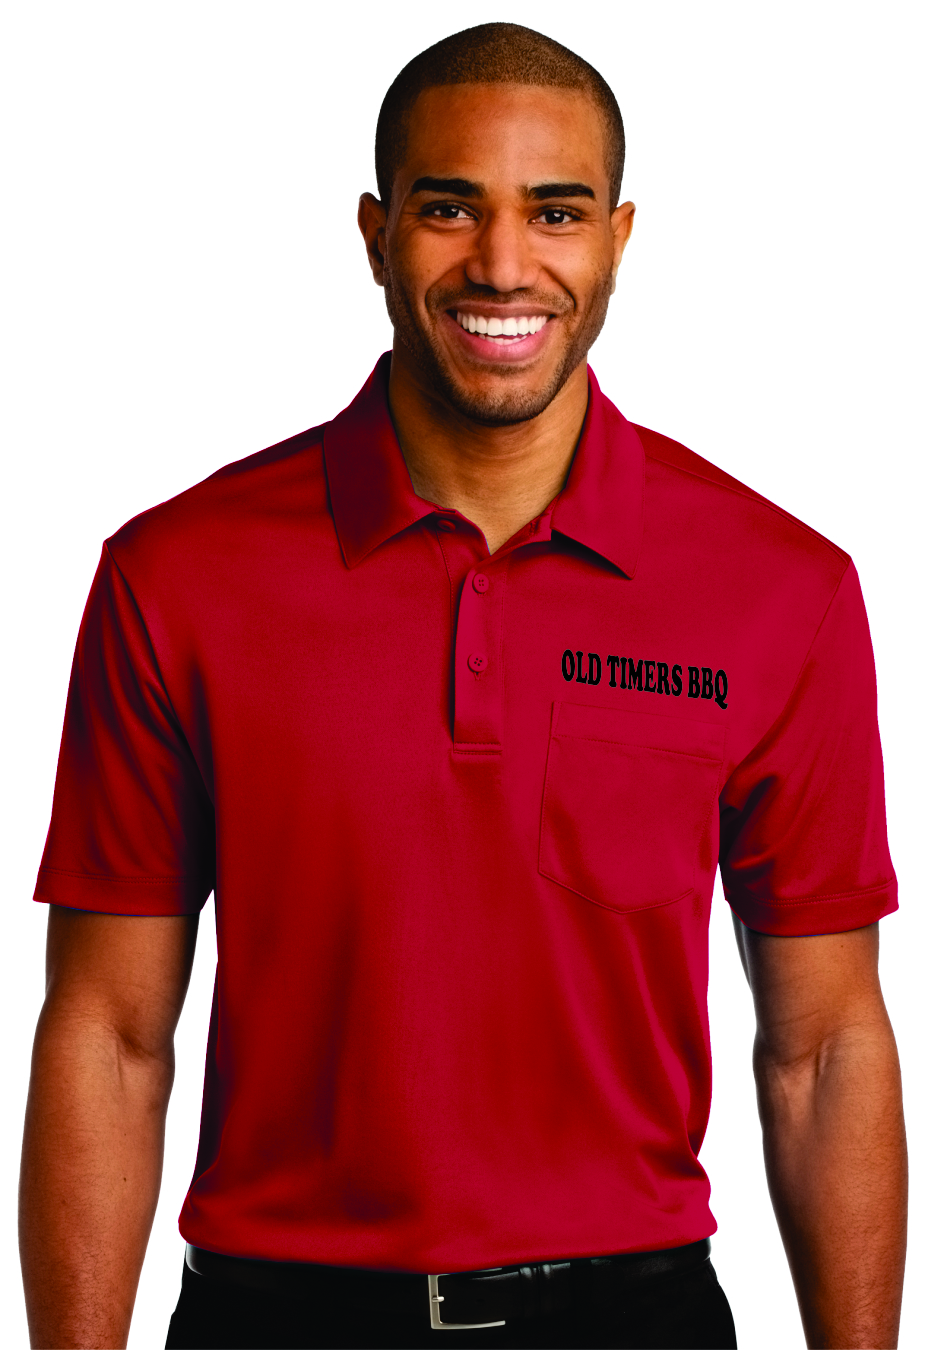
Polo left chest design
2) Decide the Size and location of your Design.
The location of the design on the shirt will guide you in the size of the design. For example a left or right chest design should be around 4 inches wide by 4 inches tall. If you go any larger than that on a chest logo you could end up with part of the design being too close to the armhole seam on smaller sized shirts.
Another consideration in designing mostly for children’s sized shirts, the design will look best if it is centered on the front of the shirt. The reason for this is that the design will be larger and more legible.
Designs for adult sized shirts can be larger and your choice of location is more flexible. The locations available for decoration are front chest left or right, center front, center back, or you can even put your design on one or both sleeves. Always keep in mind the size range of the group you are designing for. This will determine your final design size.
3) Choose The Content of The Design.
This is the most important step in designing your shirt. This is where great designs and not so good designs are determined. What does a good design consist of? A good design will clearly identify the team that you are supporting. And in most cases it will clearly identify the sport or activity your team is participating in. If your team has an attractive mascot, it is good to include it in the design. Pairing the teams mascot with a text style used on the teams uniforms is a good way to connect the teams uniforms and the fan shirt for a unified look. Make the text bold enough to be seen from a reasonable distance.
![]()
Example of full front design
4) Choosing the Design Colors.
The choice of colors of the design, like choosing the colors of the shirt is guide by the teams colors. The design colors should be chosen to make the design pop as much as possible. This can be done by using contrasting colors and outlines in your design or by shadowing text with contrasting colors. Looking at sports team shirts that are attractive to you will help you to make choices for your project.
5 Choosing The Stabilizer to Support Your Design.
The choice of stabilizer is a make or break choice. The reason the choice of stabilizer ( or backing) is so important is like the name suggests it stabilizes the fabric and keeps it from moving around while the embroidery is being sewn. With out a firm stabilizer the design will become distorted. Using to heavy of a stabilizer will make the design look stiff and unattractive. By the same token using to light of a stabilizer will not support the design. A good rule of thumb is that higher stitch counts require firmer material to support the stitches. Lighter weight fabrics also require more firmness in the backing material. Heavier fabrics can get by with lighter backing material. The choice of backing can not be emphasized enough. When in doubt sew your design with a few different backings a see which one looks the best and go from there.
6) Test Your Design Before it Goes Into Production.
This step is a must for every design. Doing a test run of your design will identify any flaws in design and workmanship and will ensure an excellent final product. After you have done a proof of your design show it to several people to get feedback and identify areas needing editing. Edit your design using the suggestions you have gotten. Run another proof and inspect to insure that your editing has been successful. Once you are satisfied with your design it is time to put it into production.